


Pairing your Apple AirPods with a Windows PC may require a few extra steps compared to pairing them with other Apple devices, but the process is still relatively straightforward. To begin, you will need to open the Settings menu on your PC and select Devices from the main menu. Make sure that the Bluetooth toggle switch is turned on at the top of the Bluetooth & other devices page. Then, click on Add Bluetooth or other device and select Bluetooth from the options.
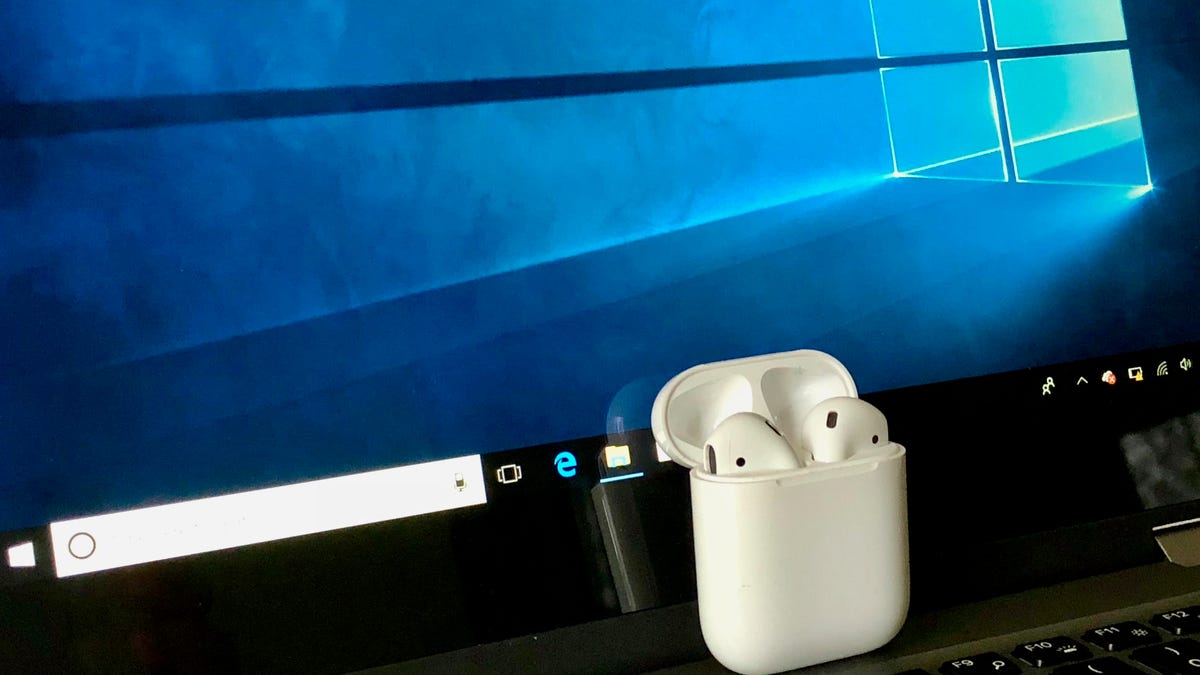
Next, you will need to put your AirPods in their case and open the lid. Hold down the button on the back of the case until the status light between the two AirPods starts pulsing white, and then release the button. This may take several seconds, so be patient. Your AirPods should appear in the Add a device window on your PC. Click on them to pair and connect them to your PC. Once paired, you can easily reconnect your AirPods and your PC for various activities such as listening to music, watching videos, or participating in video calls by going back to the Bluetooth & other devices page in Settings.
The seamless pairing experience of Apple AirPods with other Apple devices may not be replicated with Windows PCs, but as long as you follow the steps outlined above, you should have no trouble connecting your AirPods to your PC. By ensuring that Bluetooth is enabled on your PC and following the prompts to add a new Bluetooth device, you can successfully pair your AirPods and enjoy wireless audio on your Windows computer.
In terms of functionality, once your AirPods are paired with your Windows PC, you can use them for a variety of activities such as listening to music, watching videos, or even participating in video conferences. You can easily switch between different audio devices that are connected to your PC by selecting your AirPods from the list of paired audio devices under the Audio header in the Bluetooth & other devices page of Settings. Simply click on your AirPods and then click the Connect button to reconnect them to your PC.
When deciding between Apple AirPods Pro 2 and AirPods 3, there are a few key factors to consider. The AirPods Pro 2 offer active noise cancellation, a customizable fit with interchangeable ear tips, and spatial audio for an immersive listening experience. On the other hand, the AirPods 3 feature spatial audio, Adaptive EQ for optimized sound quality, and a more affordable price point compared to the AirPods Pro 2. Ultimately, the choice between the two will depend on your specific preferences and budget.
In conclusion, pairing your Apple AirPods with a Windows PC is a simple process that involves a few extra steps compared to pairing them with other Apple devices. By following the instructions provided, you can successfully connect your AirPods to your PC and enjoy wireless audio playback for various activities. Additionally, when deciding between the AirPods Pro 2 and AirPods 3, consider the features and price points of each to determine which model best suits your needs.


